
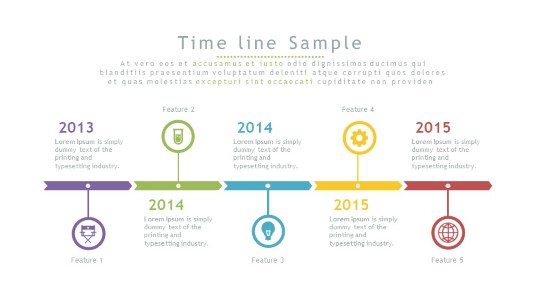
Timelines are powerful visual tools for showcasing historical events, project milestones, or any sequence of events over time. In PowerPoint, creating a timeline is a straightforward process that can help you convey information in a visually engaging manner. In this step-by-step guide, we’ll walk you through the process of making a timeline in PowerPoint.
When creating a timeline in PowerPoint, the first thing to consider is what direction do you want your timeline? Do you want a horizontal timeline or a vertical timeline?
The ideal direction for any timeline depends on the content around it and the information your are presenting with it. If your focus is on presenting historical events, a horizontal timeline would be more suitable. If you are working with project timetables, many people prefer to use a vertical timeline as a better choice. Ultimately, the decision on whether to use a horizontal or vertical timeline is determined by the specific context and the best way to showcase your information.
Step 1: Open PowerPoint and Create a New Slide
Start by launching Microsoft PowerPoint and opening your presentation or creating a new one.
Step 2: Insert a SmartArt Graphic
- Click on the slide where you want to add your timeline.
- Go to the “Insert” tab on the PowerPoint ribbon.
- Click on “SmartArt” in the Illustrations group.
Step 3: Choose a Timeline SmartArt Graphic
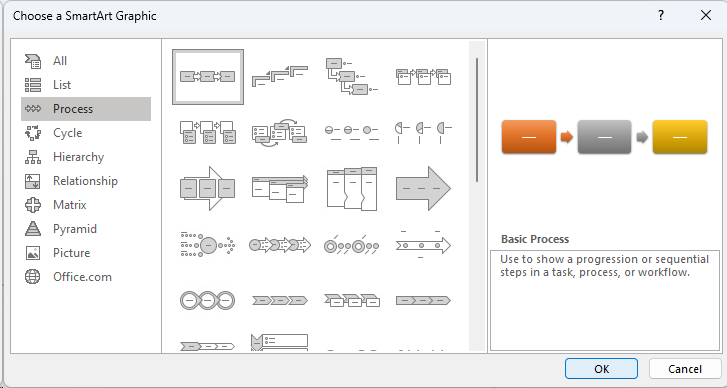
In the SmartArt dialog box:
- Select “Process” from the left pane.
- Choose the timeline layout that best suits your needs. Common options include “Basic Process,” “Arrow Process,” or “Circle Accent process.”
Click “OK” to insert the selected timeline layout into your slide.
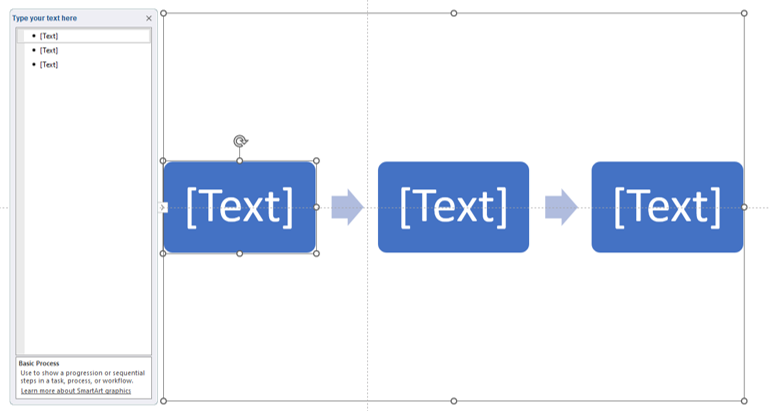
Step 4: Add Text and Dates
Now, you can start adding your timeline events, text, and dates:
- Click on the timeline shapes to add text and dates to each point in your timeline.
- You can also adjust the length and position of the timeline shapes to represent different time intervals.
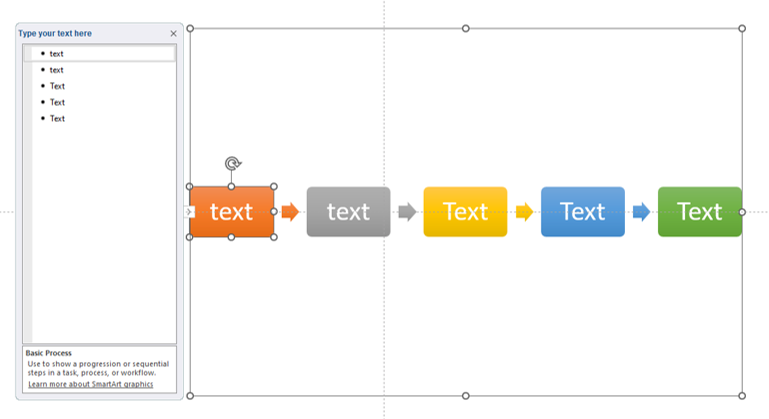
Step 5: Customize Your Timeline
To make your timeline visually appealing and relevant to your content, customize it:
- Click on the timeline to select it.
- Use the “SmartArt Tools” tab that appears on the PowerPoint ribbon to access customization options.
- Change colors, styles, and fonts to match your presentation’s theme and branding.
Rearrange and Format Elements
You can easily rearrange and format elements in your timeline:
- Click and drag timeline shapes to reposition them.
- Use the “Format” tab to change the fill color, border style, and other formatting options.
Add Images or Icons
To enhance your timeline with visuals, consider adding images or icons to represent key events:
- Click on a timeline shape to select it.
- Go to the “SmartArt Tools” tab and click “Add Shape” to add additional shapes for images or icons.
- Insert your images or icons into the added shapes.
Add Connecting Lines
To create a more connected visual, add lines or arrows between timeline shapes:
- Go to the “Shapes” option under the “Insert” tab.
- Choose the “Line” or “Arrow” shape and draw lines connecting your timeline shapes.
If you want your timeline to be interactive
Create an interactive timeline in PowerPoint by following these tips:
– Use Hyperlinks for dates or events.
– Apply entrance and exit animations to make them appear and disappear smoothly.
– Put the timeline across multiple slides, then apply slide transitions to make timeline slides seamless.
– Create navigation buttons.
What if my timeline is really long?
If you have a LOT of information you want to display in a timeline, odds are it simply won’t fit on a slide or it won’t be easily read or understood. Consider breaking up the timeline into smaller chunks and splitting it onto multiple slides. You can then use transitions to connect them together.
Examples of multi-slide timelines in PowerPoint
Use multiple slides in PowerPoint to scroll across a long horizontal timeline. Use PUSH Left transition to go between the slides for a seamless look.

Use multiple slides in PowerPoint to scroll across a long vertical timeline. Use PUSH Up transition to scroll through the slides.
Preview and Test
Before presenting your timeline, preview and test it to ensure that all elements are correctly positioned and that the timeline effectively conveys your message.
Save and Present Your Timeline
Finally, save your PowerPoint presentation, and when you’re ready to present, simply navigate to the slide containing your timeline. Walk your audience through the events or milestones, using the visual timeline as a reference.
Creating a timeline in PowerPoint is a powerful way to illustrate a sequence of events, project progress, or historical developments. By following these steps, you can easily design a visually appealing and informative timeline that adds depth and context to your presentations. Whether you’re sharing company history, project timelines, or educational content, PowerPoint timelines are an effective tool for conveying information with impact.
You can easily add timeline infographics to your PowerPoint presentations from our collection of fully editable infographics. All of the infographics are 100% editable in PowerPoint and easily inserted into your slides in seconds.
Browse our collection of prebuilt timelines

Get Unlimited Access to EVERYTHING
• starting at only $49
• 1 User
• Over 40,000+ Royalty Free Designs
• One Time Payment
• Unlimited downloads
• Fast & Free Support
• Early Access to AIPresentationBOOST PowerPoint AI (beta)
• Express PowerPoint addin

designs for PowerPoint and build presentations that get noticed!