

Sometimes the background of an image just gets in the way and you want to see only the focus of the image and make everything else transparent. Whether you’re creating a professional presentation, designing marketing materials, or simply want to make your images stand out, knowing how to remove backgrounds from images in PowerPoint can be a valuable skill. In this guide, we’ll walk you through the steps to effortlessly remove backgrounds and create visually appealing graphics using PowerPoint.
Step 1: Open PowerPoint and Insert Your Image
Begin by opening Microsoft PowerPoint and starting a new presentation or opening an existing one where you want to edit your image. Then, follow these steps:
- Click on the slide where you want to insert your image or create a new slide.
- Go to the “Insert” tab on the PowerPoint ribbon.
- Click on “Pictures” and select the image you want to edit from your computer.
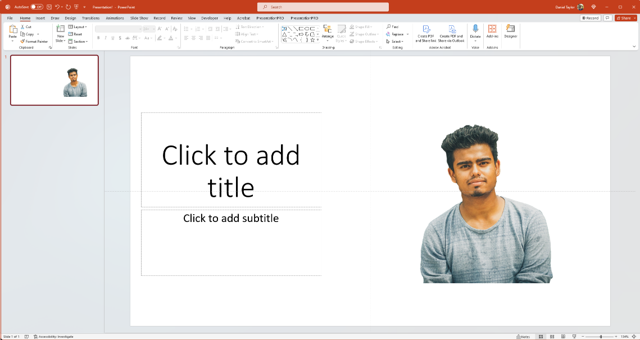
Step 2: Select the Image
Once you’ve inserted the image, it’s time to select it for editing. Click on the image to make it active.
Step 3: Access the ‘Remove Background’ Tool
In PowerPoint, there’s a handy tool called “Remove Background” that makes background removal a breeze:
- With your image selected, navigate to the “Format” tab on the PowerPoint ribbon.
- In the “Adjust” group, you’ll see the “Remove Background” button. Click on it.

Step 4: Mark Areas to Keep or Remove
After clicking “Remove Background,” PowerPoint will automatically try to identify the background to remove. You’ll see your image with a pink overlay representing the parts PowerPoint intends to remove.
To refine the selection:
- Use the “Mark Areas to Keep” and “Mark Areas to Remove” options in the PowerPoint ribbon.
- Click and drag to draw lines on your image to specify areas you want to keep or remove.
PowerPoint will adjust the selection based on your markings.
Step 5: Finalize the Selection
Once you’re satisfied with the selection, click outside the image, and PowerPoint will apply the background removal to your image.
Step 6: Preview and Refine
Take a moment to preview your image. If there are any areas that need further adjustment, you can use the “Keep Changes” and “Discard All Changes” buttons in the PowerPoint ribbon to fine-tune the background removal.
Step 7: Save Your Edited Image
When you’re satisfied with the result, you can save your edited image:
- Right-click on the image.
- Select “Save as Picture” to save the edited image as a separate file.
Choose your preferred file format and location, and click “Save.”
Mastering the art of removing backgrounds from images in PowerPoint can be a valuable skill for creating polished, professional graphics and enhancing your presentations. Whether you’re removing backgrounds from product photos, personalizing images, or creating visual content for your projects, PowerPoint’s “Remove Background” tool simplifies the process.
Now that you know how to use this feature, you can explore various creative possibilities, such as creating product images with transparent backgrounds, customizing visuals, or designing eye-catching graphics for your PowerPoint presentations and beyond. Unlock your creativity and elevate your image editing game with PowerPoint’s background removal tool.

Get Unlimited Access to EVERYTHING
• starting at only $49
• 1 User
• Over 40,000+ Royalty Free Designs
• One Time Payment
• Unlimited downloads
• Fast & Free Support
• Early Access to AIPresentationBOOST PowerPoint AI (beta)
• Express PowerPoint addin

designs for PowerPoint and build presentations that get noticed!